To ensure optimal printing results, it’s crucial to set up your files with a 3mm bleed and a 3mm safety margin. This is essential because during the cutting process, there’s a possibility of cutting slightly too far in (hence the need for a safety margin) or too far out (which is why bleed is necessary). The safety margin ensures that no vital content is unintentionally cut, while the bleed guarantees there’s no white border at the product’s edge.
Setting Up Bleed:
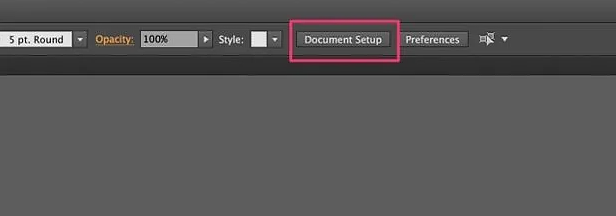
- Open your file and click on “Document Setup.”
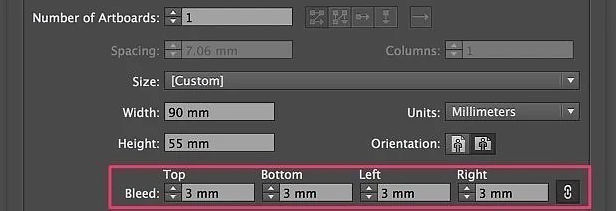
- In the Document Setup window, set the bleed to 3mm on all sides of the artwork.
- After clicking “Ok,” a red border around the artboard indicates the necessary bleed of 3mm for your graphical elements.
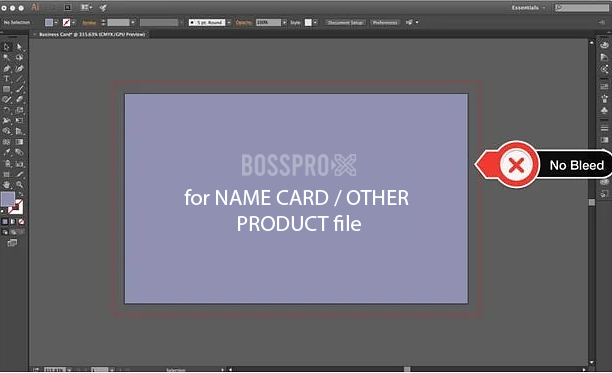
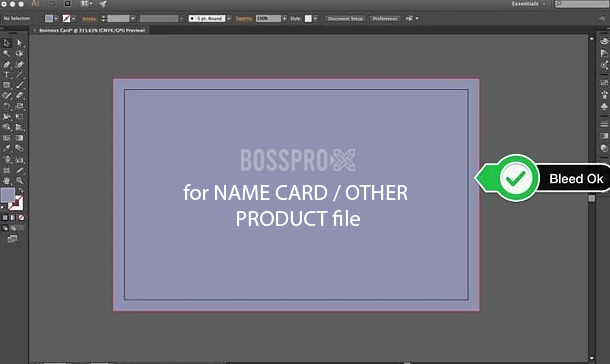
Without bleed, important information can get cut off. With bleed, all information in your file is safe.
Setting Up Safety Margins:
Note: Safety margins are not supported by default in Adobe Illustrator. Follow these steps:
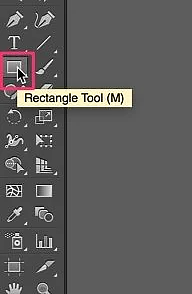
- Select the Rectangle Tool and create a rectangle by clicking anywhere on the screen.
- In the rectangle dimensions window, input dimensions 6mm less in width and 6mm less in height than your artwork (e.g., for 90mm x 55mm business cards, set the rectangle size to 84mm x 49mm).
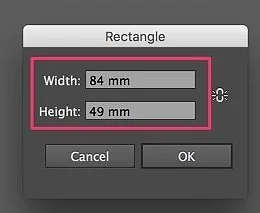
- Click “OK” to create the rectangle and center it on the artboard using the Window -> Align menu.
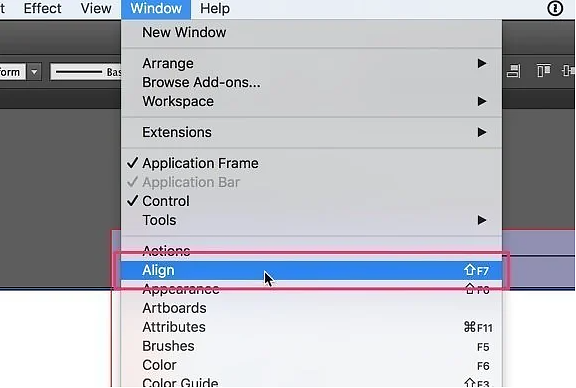
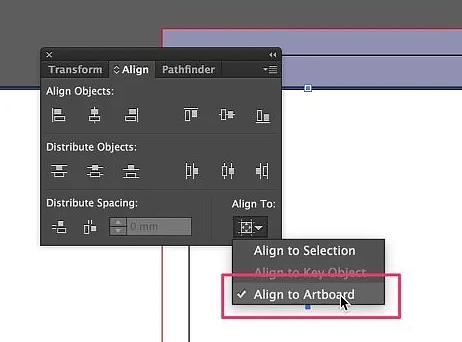
- In the Align window, click “More Options,” select “Show Options,”
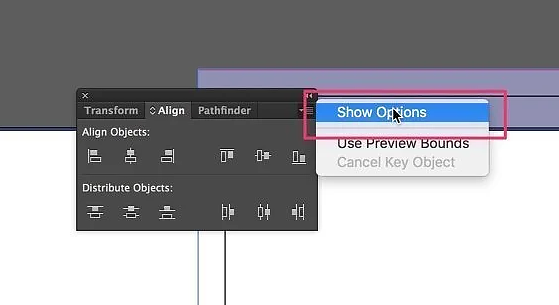
- and choose “Align to Artboard.”
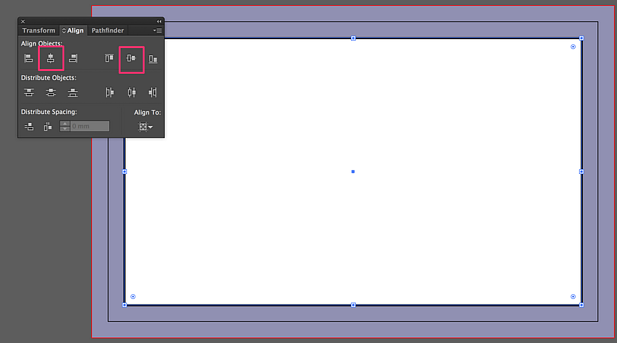
- Align the rectangle to the center of the artboard by clicking “Horizontal Align Center” and “Vertical Align Center.”
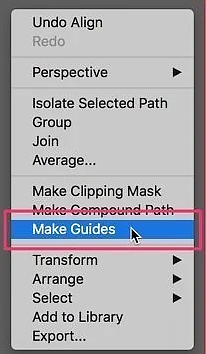
- While the rectangle is selected, right-click anywhere, and choose ‘Make Guides.’
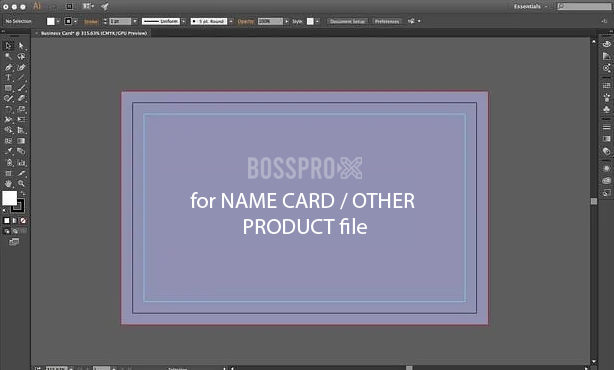
Your bleed and safety margins are now properly set. Ensure all graphic elements extend to the red border, avoiding any crucial information between the red and turquoise borders, as this may be lost during the cutting process.
You are now ready to proceed.
Subscribe to our BOSSPRO-X newsletter for more helpful tips and updates!
 Cart is empty
Leave A Comment